服务器配置HTTPS服务
前言
最近看到论文的实验部分涉及到OpenSSL相关,这之后定是逃不过的一道坎,因此初探Web,尝试搭建一下实验所必须的环境,并从外行的角度来总结一下该过程。
预期有哪些?
- 了解一些名词,Nginx、Apache、OpenSSL、Http、Https
- 编译OpenSSL源码,并将其应用到Nginx中(也就是https)
下面首先介绍基础概念,然后就是实践操作。
基础概念
HTTP
当我们在浏览器的地址栏中输入网址,然后点击回车,接着,浏览器就会呈现出我们需要的web界面,那么,这个界面是怎么产生的?
web的界面是根据我们输入的URL(网址、地址),浏览器从服务器端获取对应的文件资源等信息,然后显示在浏览器上面。
像这种通过发送请求获取服务器资源的web浏览器等,都可以称之为客户端(client)。web使用http(超文本传输协议)协议作为规范,来完成从客户端到服务端等一系列的运作流程,而协议指的就是规则的约定,可以说,web是建立在http协议上进行通信的。
那么,web服务器在这之中扮演什么角色呢?
web服务器是“通过HTTP协议处理web请求的计算机系统”(a computer system that processes requests via HTTP)。这个词可以指代整个系统,也可以指代可接收和管理HTTP请求的的程序。这里介绍的web服务器指的是为终端用户处理web请求的程序。
主流的web服务器有 Apache、Nginx、lighttpd、Apache Tomcat、Node.js。
Nginx
Nginx 是俄罗斯人编写的十分轻量级的 HTTP 服务器,Nginx,它的发音为“engine X”,是一个高性能的HTTP和反向代理服务器,同时也是一个 IMAP/POP3/SMTP 代理服务器。NGINX的开发是为了解决C10K(C10K是如何处理1万个并发连接的简写)问题。
其特点是占有内存少,并发能力强,事实上nginx的并发能力确实在同类型的网页服务器中表现较好,中国大陆使用nginx网站用户有:百度、京东、新浪、网易、腾讯、淘宝等。
它不仅可作为web服务器进行部署,也可作为代理服务器或负载平衡器。
Apache、Apache Tomcat、lighttpd、Node.js
Apache HTTP Server 简称为 Apache,中文名:阿帕奇。全球超过52%的网站使用了Apache,它是目前最流行的web服务器。
它可以在大多数计算机操作系统中运行,由于其多平台和安全性被广泛使用。Apache httpd通常运行在Linux上,也可以部署在OS X和Windows之上。
Apache只支持静态网页,但像php,cgi,jsp等动态网页就需要Tomcat来处理。由于Tomcat本身也内含了一个HTTP服务器,它也可以被视作一个单独的Web服务器。Apache Tomcat是在Apache许可证 2.0 版的授权下进行发布的,通常用于运行Java应用程序。
Apache,nginx,tomcat并称为网页服务三剑客,可见其应用度之广泛。
Lighttpd是一个德国人领导的开源Web服务器软件,其根本的目的是提供一个专门针对高性能网站,安全、快速、兼容性好并且灵活的web server环境。具有非常低的内存开销、cpu占用率低、效能好以及丰富的模块等特点。Lighttpd主要用于Catalyst和Ruby on Rails的web框架。
Node.js是一个Javascript运行环境(runtime environment),发布于2009年5月,由Ryan Dahl开发,实质是对Chrome V8引擎进行了封装。Node.js对一些特殊用例进行优化,提供替代的API,使得V8在非浏览器环境下运行得更好。
相比起其它流行的web服务器,Node.js的不同之处在于它是一个构建网络应用的跨平台运行环境,拥有可胜任异步I/0的事件驱动构架。这些设计选择能够优化应用程序的数据吞吐量和可伸缩性,支持实时通信和网页游戏。有许多大型高流量网站都采用Node.JS进行开发,此外,开发人员还可以使用它来开发一些快速移动Web框架。
OK。Nginx等web服务器大致了解之后,回到本文主题,OpenSSL
在网络通信中又担任什么角色?
openssl是web安全通信的基石。OpenSSL是一个强大的安全套接字层密码库,http协议可配合ssl协议使用来保证通信的安全。
OpenSSL
SSL的全名叫做secure socket layer(安全套接字层),最开始是由Netscape的互联网公司开发出来,主要是防止信息在互联网上传输的时候不被窃听或者篡改,后来Netscape公司提交SSL给ISOC组织做标准化,改名为TLS。SSL协议要求建立在可靠的传输层协议(TCP)之上。SSL协议的优势在于它是与应用层协议独立无关的,高层的应用层协议(例如:HTTP,FTP,TELNET等)能透明地建立于SSL协议之上。
SSL只是一个协议,openssl则是SSL的实现版,另外openssl还包含了公钥私钥的生成、摘要生成等各种工具。
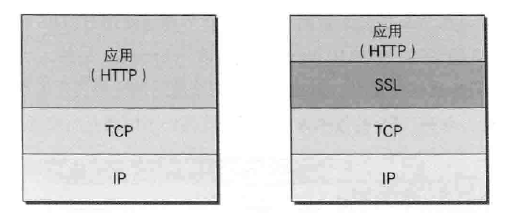
https相当于身披SSL外壳的http,https并非应用层的一种新协议,而是在http通信接口部分用SSL(Secure Socket Layer:安全套接字层)和TLS(Transport Layer Security:安全层传输协议)协议代替。
通常,http和TCP直接通信,当使用SSL时,先由http和SSL通信,再由SSL和TCP通信。SSL是独立于http的协议,其他应用层的如SMTP何Telnet等协议都可以配合SSL进行使用。
实践操作
在服务器上源码编译OpenSSL,配置Nginx,测试https
服务器系统:CentOS Linux release 7.2.1511 (Core)
这里都是通过源码来编译的,当然方便也可以选择系统自带的yum install直接安装OpenSSL和nginx
目前是自建CA证书来走流程的,事实上应当通过第三方可靠证书颁发机构申请证书,那是后续的事情了
源码编译OpenSSL
下载源码并解压
1
2
3
4
5
6
7
8
9
10
11
12
13
[root@www download]# wget -P /root/download https://www.openssl.org/source/openssl-1.1.1g.tar.gz
--2020-08-11 22:47:05-- https://www.openssl.org/source/openssl-1.1.1g.tar.gz
Resolving www.openssl.org (www.openssl.org)... 104.69.2.174, 2600:1406:5800:49b::c1e, 2600:1406:5800:491::c1e
Connecting to www.openssl.org (www.openssl.org)|104.69.2.174|:443... connected.
HTTP request sent, awaiting response... 200 OK
Length: 9801502 (9.3M) [application/x-gzip]
Saving to: '/root/download/openssl-1.1.1g.tar.gz'
100%[======================================>] 9,801,502 5.94MB/s in 1.6s
2020-08-11 22:47:07 (5.94 MB/s) - '/root/download/openssl-1.1.1g.tar.gz' saved [9801502/9801502]
[root@www download]# tar zxvf openssl-1.1.1g.tar.gz准备工作
1
yum -y install make perl perl-devel gcc gcc-c++
编译安装
1
2
3
4
5
6
7
[root@www download]# cd openssl-1.1.1g/
[root@www openssl-1.1.1g]# ./config -fPIC --prefix=/usr/local/openssl enable-shared
(注: --prefix:指定安装目录
-fPIC 使输出的对象模块是按照可重定位地址方式生成的(即与位置无关).
-shared 指定把对应的源文件生成对应的动态链接库库文件xx.so文件)
[root@www openssl-1.1.1g]make
[root@www openssl-1.1.1g]make install替换文件
备份
1
2
mv /usr/bin/openssl /usr/bin/openssl.bak
mv /usr/include/openssl /usr/include/openssl.bak
- 做软连接

1
2
3
4
5
[root@www openssl-1.1.1g]# ln -sf /usr/local/openssl/bin/openssl /usr/bin/openssl
[root@www openssl-1.1.1g]# ln -sf /usr/local/openssl/include/openssl    /usr/include/openssl
[root@www openssl-1.1.1g]# echo '/usr/local/openssl/lib' >> /etc/ld.so.conf
[root@www openssl-1.1.1g]# ll /usr/bin/openssl
lrwxrwxrwx 1 root root 30 Aug 11 23:12 /usr/bin/openssl -> /usr/local/openssl/bin/openssl


- 加载共享库

    1
2
3
4
5
6
7
8
9
10
11
12
13
14
15
16
17
18
19
20
[root@www openssl-1.1.1g]# ldd /usr/local/openssl/bin/openssl
	linux-vdso.so.1 =>  (0x00007ffd4bb8f000)
	libssl.so.1.1 => /usr/local/openssl/lib/libssl.so.1.1 (0x00007fb6d7992000)
	libcrypto.so.1.1 => /usr/local/openssl/lib/libcrypto.so.1.1 (0x00007fb6d74ab000)
	libdl.so.2 => /lib64/libdl.so.2 (0x00007fb6d72a7000)
	libpthread.so.0 => /lib64/libpthread.so.0 (0x00007fb6d708b000)
	libc.so.6 => /lib64/libc.so.6 (0x00007fb6d6cbd000)
	/lib64/ld-linux-x86-64.so.2 (0x0000559e83647000)
[root@www openssl-1.1.1g]# ldconfig -v
ldconfig: Can't stat /libx32: No such file or directory
ldconfig: Path `/usr/lib' given more than once
ldconfig: Path `/usr/lib64' given more than once
ldconfig: Can't stat /usr/libx32: No such file or directory
/usr/lib64/mysql:
	libmysqlclient.so.18 -> libmysqlclient.so.18.0.0
/usr/local/openssl/lib:
	libssl.so.1.1 -> libssl.so.1.1
	libcrypto.so.1.1 -> libcrypto.so.1.1
/lib:
......


- 查看版本

    1
2
3
4
5
6
7
8
9
[root@www openssl-1.1.1g]# openssl version -a
OpenSSL 1.1.1g  21 Apr 2020
built on: Wed Aug 12 07:14:24 2020 UTC
platform: linux-x86_64
options:  bn(64,64) rc4(16x,int) des(int) idea(int) blowfish(ptr)
compiler: gcc -fPIC -pthread -m64 -Wa,--noexecstack -Wall -O3 -DOPENSSL_USE_NODELETE -DL_ENDIAN -DOPENSSL_PIC -DOPENSSL_CPUID_OBJ -DOPENSSL_IA32_SSE2 -DOPENSSL_BN_ASM_MONT -DOPENSSL_BN_ASM_MONT5 -DOPENSSL_BN_ASM_GF2m -DSHA1_ASM -DSHA256_ASM -DSHA512_ASM -DKECCAK1600_ASM -DRC4_ASM -DMD5_ASM -DAESNI_ASM -DVPAES_ASM -DGHASH_ASM -DECP_NISTZ256_ASM -DX25519_ASM -DPOLY1305_ASM -DNDEBUG
OPENSSLDIR: "/usr/local/openssl/ssl"
ENGINESDIR: "/usr/local/openssl//lib/engines-1.1"
Seeding source: os-specific
配置Nginx
下载源码并解压
1
2
3
4
5
6
7
8
9
10
11
12
13
14
[root@www download]# wget -P /root/download/ http://nginx.org/download/nginx-1.19.2.tar.gz
--2020-08-12 04:02:40-- http://nginx.org/download/nginx-1.19.2.tar.gz
Resolving nginx.org (nginx.org)... 3.125.197.172, 52.58.199.22, 2a05:d014:edb:5702::6, ...
Connecting to nginx.org (nginx.org)|3.125.197.172|:80... connected.
HTTP request sent, awaiting response... 200 OK
Length: 1048727 (1.0M) [application/octet-stream]
Saving to: ‘/root/download/nginx-1.19.2.tar.gz’
100%[======================================>] 1,048,727 861KB/s in 1.2s
2020-08-12 04:02:41 (861 KB/s) - ‘/root/download/nginx-1.19.2.tar.gz’ saved [1048727/1048727]
[root@www download]# tar -zxvf nginx-1.19.2.tar.gz
[root@www download]# ls
nginx-1.19.2 nginx-1.19.2.tar.gz openssl-1.1.1g openssl-1.1.1g.tar.gz准备工作
1
yum -y install zlib zlib-devel openssl-devel
安装nginx
1
2
3
4
5
6
7
8
9
10
11
12
13
14
15
16
[root@www download]# cd nginx-1.19.2
[root@www nginx-1.19.2]# ls
CHANGES LICENSE auto configure html src
CHANGES.ru README conf contrib man
[root@www nginx-1.19.2]# ./configure
...
checking for PCRE library ... not found
checking for PCRE library in /usr/local/ ... not found
checking for PCRE library in /usr/include/pcre/ ... not found
checking for PCRE library in /usr/pkg/ ... not found
checking for PCRE library in /opt/local/ ... not found
./configure: error: the HTTP rewrite module requires the PCRE library.
You can either disable the module by using --without-http_rewrite_module
option, or install the PCRE library into the system, or build the PCRE library
statically from the source with nginx by using --with-pcre=<path> option.安装PCRE
PCRE 作用是让 Nginx 支持 Rewrite 功能。
1
2
3
4
5
6
7
[root@www download]# wget http://downloads.sourceforge.net/project/pcre/pcre/8.35/pcre-8.35.tar.gz
[root@www download]# tar zxvf pcre-8.35.tar.gz
[root@www download]# cd pcre-8.35
[root@www pcre-8.35]# ./configure
[root@www pcre-8.35]# make && make install
[root@www pcre-8.35]# pcre-config --version
8.35接着安装nginx
1
2
3
4
5
6
[root@www nginx-1.19.2]# ./configure --prefix=/usr/local/webserver/nginx --with-pcre=/root/download/pcre-8.35 --with-http_ssl_module
[root@www nginx-1.19.2]# make
[root@www nginx-1.19.2]# make install
查看版本
[root@www nginx-1.19.2]# /usr/local/webserver/nginx/sbin/nginx -v
nginx version: nginx/1.19.21
2
3
4
5
6
7
8
9
10
11
12
13
14
15
16
17
18
19
20
21
22检查配置文件是否正确
[root@www nginx-1.19.2]# /usr/local/webserver/nginx/sbin/nginx -t
nginx: the configuration file /usr/local/webserver/nginx/conf/nginx.conf syntax is ok
nginx: configuration file /usr/local/webserver/nginx/conf/nginx.conf test is successful
可以看到编译选项
[root@www nginx-1.19.2]# /usr/local/webserver/nginx/sbin/nginx -V
nginx version: nginx/1.19.2
built by gcc 4.8.5 20150623 (Red Hat 4.8.5-39) (GCC)
built with OpenSSL 1.0.2k-fips 26 Jan 2017
TLS SNI support enabled
configure arguments: --prefix=/usr/local/webserver/nginx --with-pcre=/root/download/pcre-8.35 --with-http_ssl_module
启动、关闭
[root@www nginx-1.19.2]# /usr/local/webserver/nginx/sbin/nginx
[root@www nginx-1.19.2]# ps -ef |grep nginx
root 24343 1 0 04:32 ? 00:00:00 nginx: master process /usr/local/webserver/nginx/sbin/nginx
nobody 24344 24343 0 04:32 ? 00:00:00 nginx: worker process
root 24360 10179 0 04:33 pts/2 00:00:00 grep --color=auto nginx
[root@www nginx-1.19.2]# /usr/local/webserver/nginx/sbin/nginx -s stop
[root@www nginx-1.19.2]# ps -ef |grep nginx
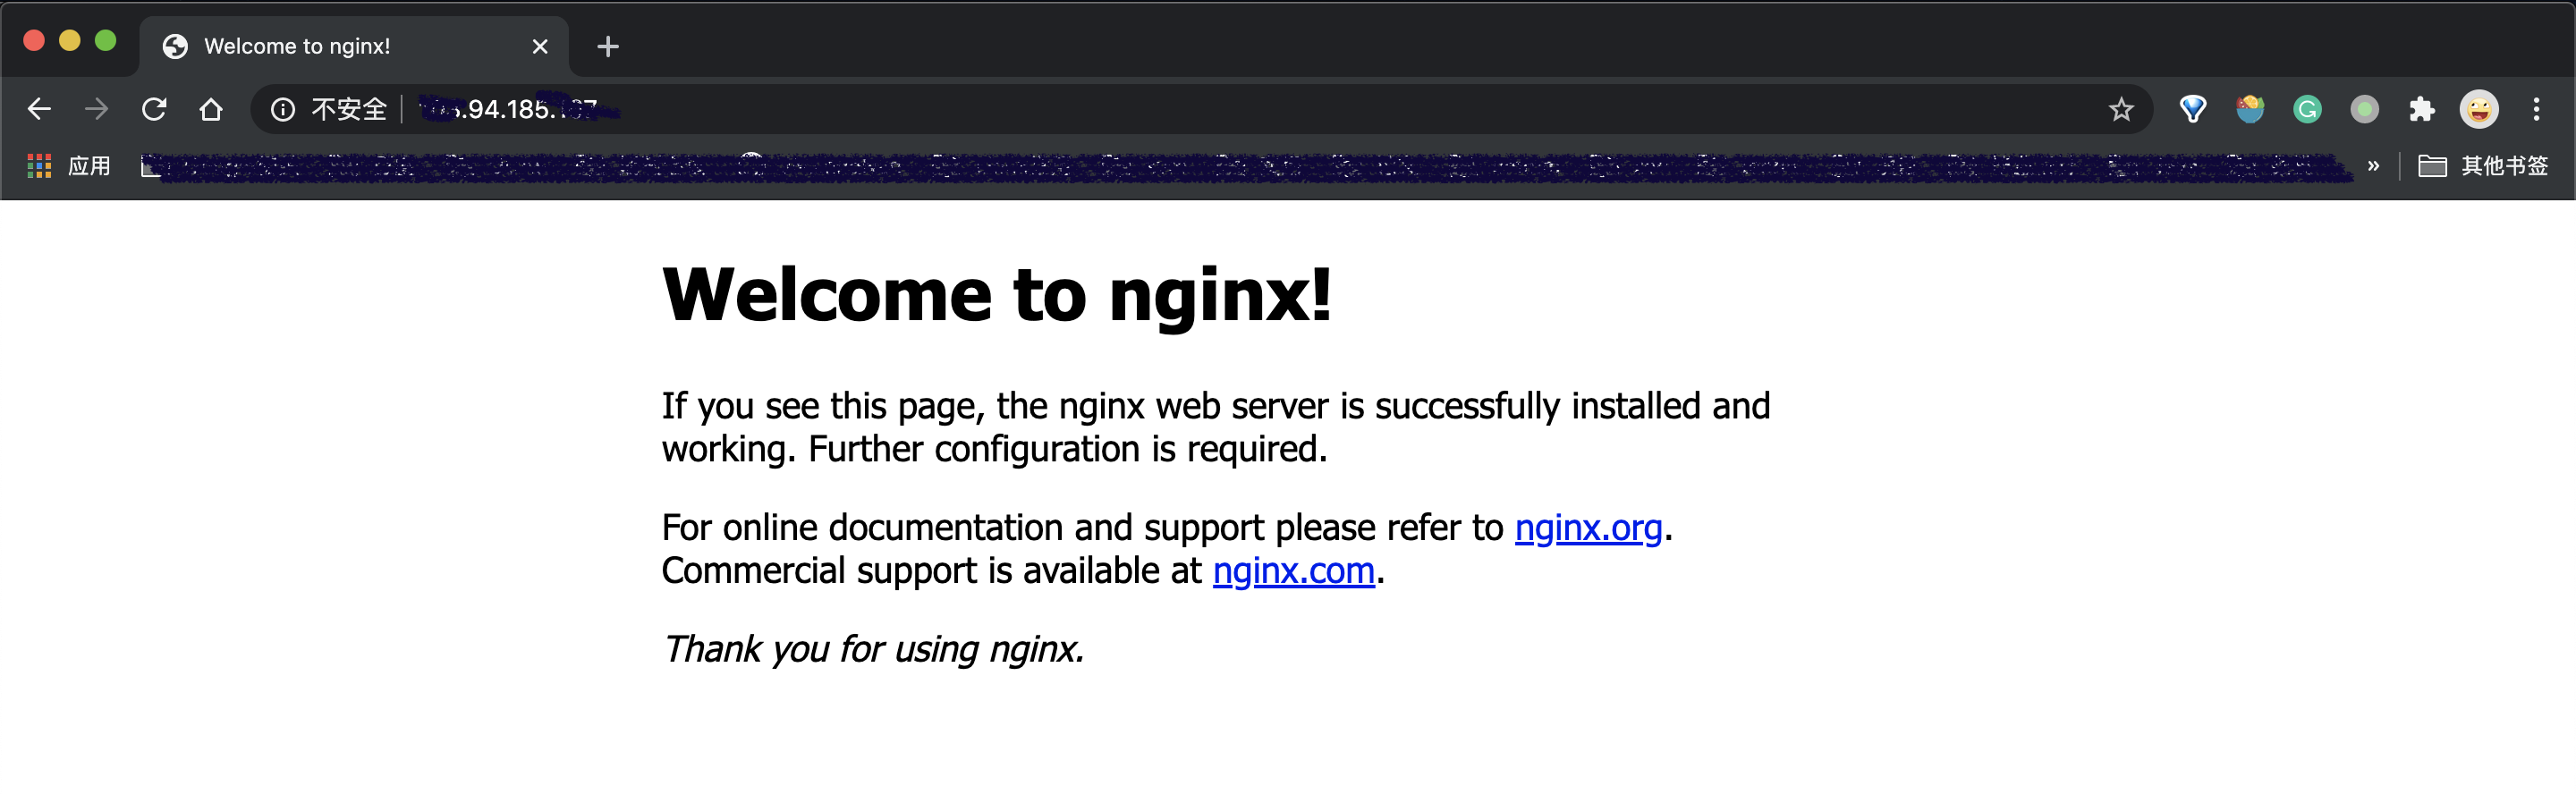
root 24377 10179 0 04:34 pts/2 00:00:00 grep --color=auto nginx在浏览器中键入http://localhost:80,可以访问到nginx的欢迎界面。(默认nginx.conf 80端口)
配置ssl
Step1: Create the SSL Certificate
1
2
3
4
5
6
7
8
9
10
11
12
13
14
15
16
17
18
19
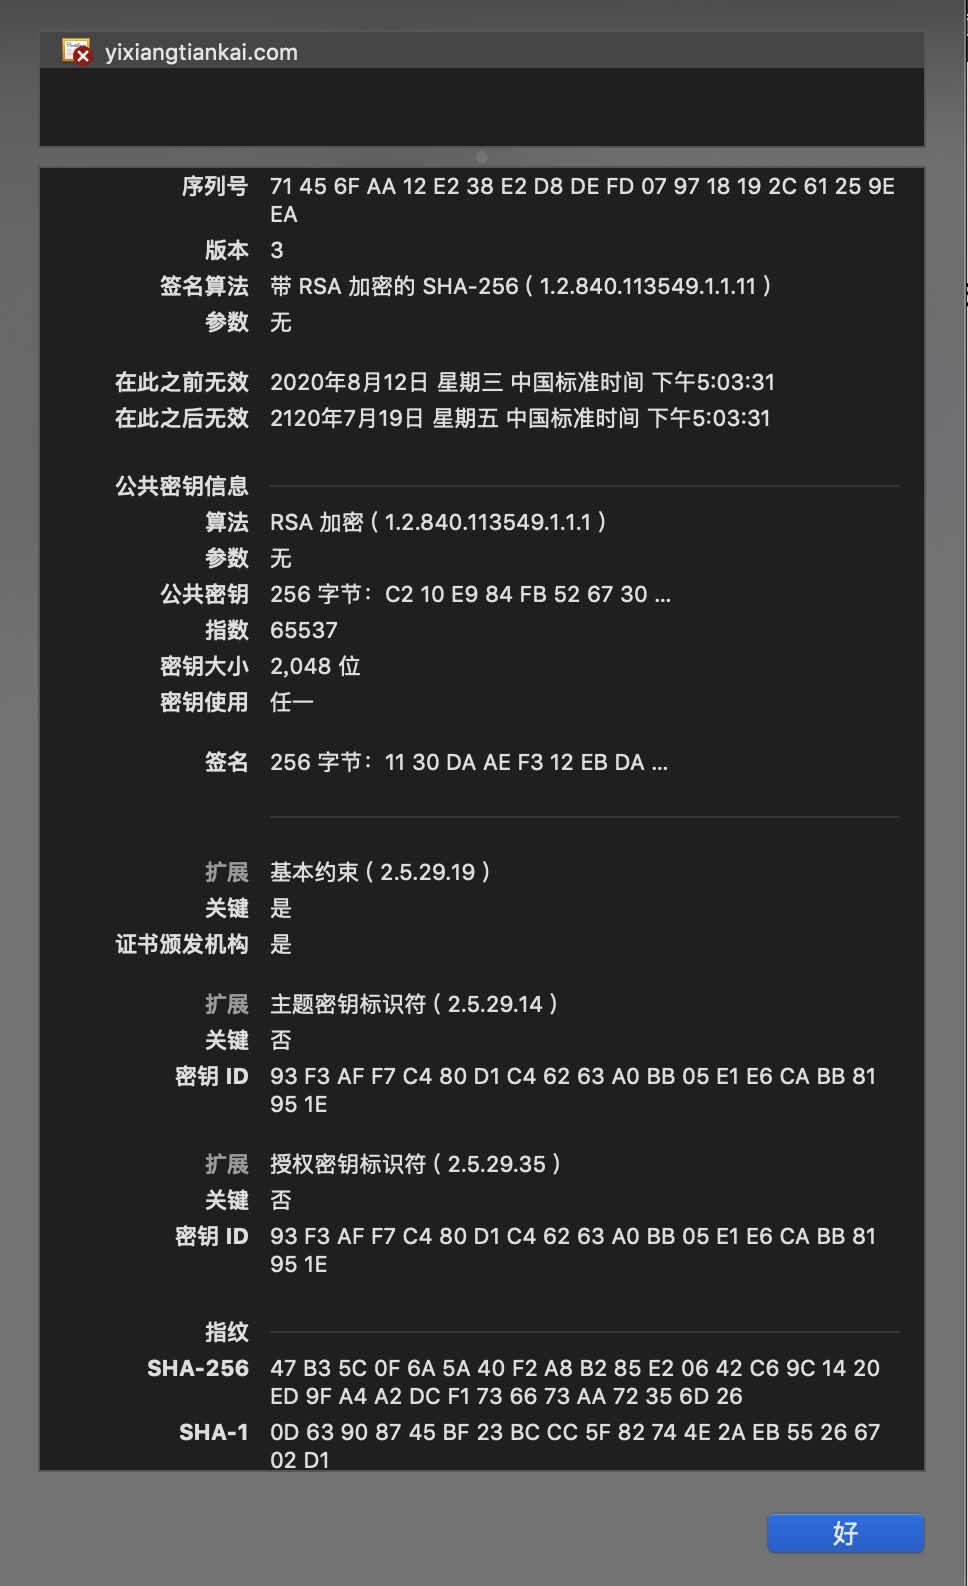
20[root@www ~]# openssl req -x509 -nodes -days 36500 -newkey rsa:2048 -keyout /etc/nginx/ssl/nginx233.key -out /etc/nginx/ssl/nginx233.crt
Generating a RSA private key
...........+++++
..........................+++++
writing new private key to '/etc/nginx/ssl/nginx233.key'
-----
You are about to be asked to enter information that will be incorporated
into your certificate request.
What you are about to enter is what is called a Distinguished Name or a DN.
There are quite a few fields but you can leave some blank
For some fields there will be a default value,
If you enter '.', the field will be left blank.
-----
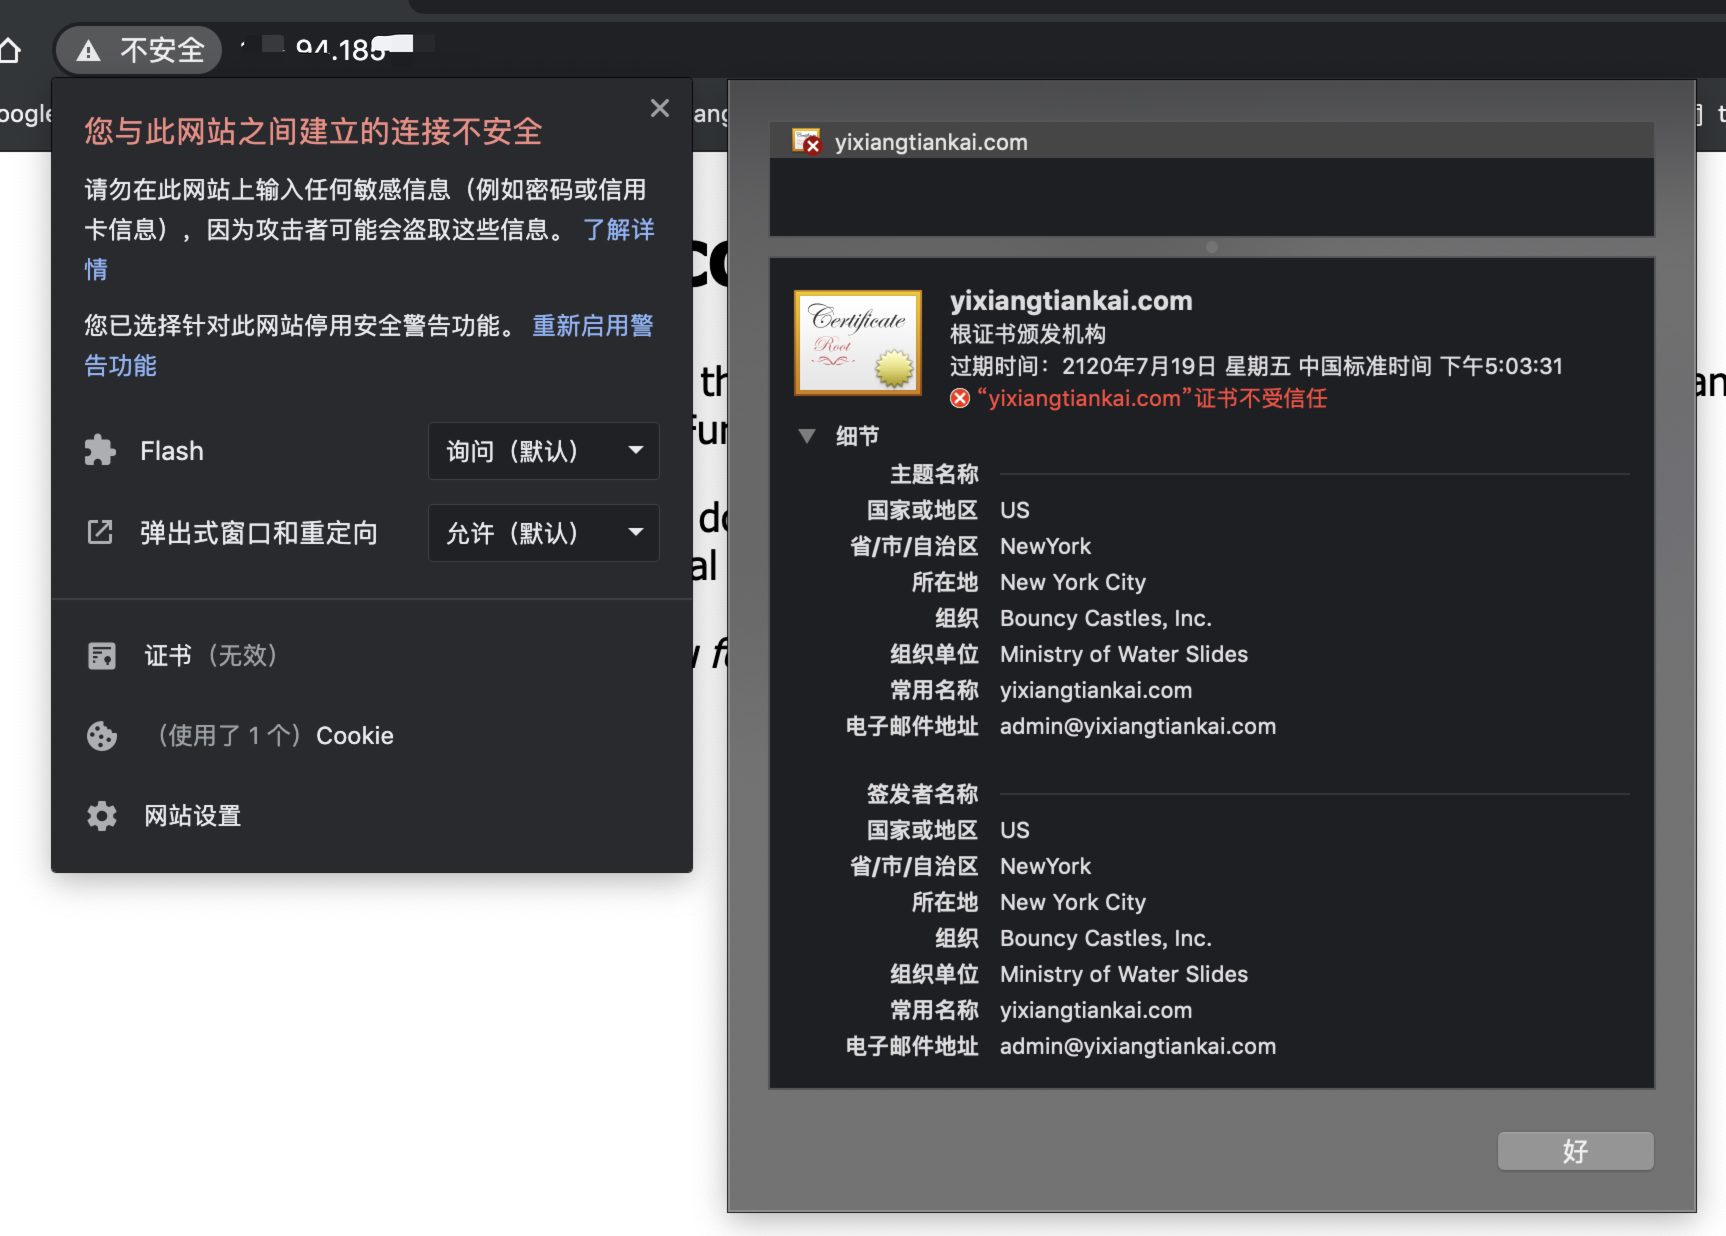
Country Name (2 letter code) [AU]:US
State or Province Name (full name) [Some-State]:NewYork
Locality Name (eg, city) []:New York City
Organization Name (eg, company) [Internet Widgits Pty Ltd]:Bouncy Castles, Inc.
Organizational Unit Name (eg, section) []:Ministry of Water Slides
Common Name (e.g. server FQDN or YOUR name) []:yixiangtiankai.com
Email Address []:admin@yixiangtiankai.comStep2: Configure Nginx to Use SSL
1
2
3
4
5
6
7
8
9
10
11
12
13
14
15
16
17
18
19
20
21
22
23
24
25
26
27
28
29
30
31
32
33
34
35
36
37
38
39
40
41
42
43
44
45
46
47
48
49
50
51
52
53
54
55
56
57
58
59
60
61
62
63
64
65
66
67
68
69
70
71
72
73
74
75
76
77
78
79
80
81
82
83
84
85
86
87
88
89
90
91
92
93
94
95
96
97
98
99
100
101
102
103
104
105
106
107
108
109
110
111
112
113
114
115
116
117
118
119
120
121
122修改之前我先进行了一个备份
[root@www ~]# cp /usr/local/webserver/nginx/conf/nginx.conf /usr/local/webserver/nginx/conf/nginx.conf.bak
[root@www ~]# vim /usr/local/webserver/nginx/conf/nginx.conf
#user nobody;
worker_processes 1;
#error_log logs/error.log;
#error_log logs/error.log notice;
#error_log logs/error.log info;
error_log /usr/local/webserver/nginx/logs/nginx_error.log crit;
#pid logs/nginx.pid;
pid /usr/local/webserver/nginx/nginx.pid;
events {
worker_connections 1024;
}
http {
include mime.types;
default_type application/octet-stream;
log_format main '$remote_addr - $remote_user [$time_local] "$request" '
'$status $body_bytes_sent "$http_referer" '
'"$http_user_agent" "$http_x_forwarded_for"';
#access_log logs/access.log main;
sendfile on;
tcp_nopush on;
#keepalive_timeout 0;
keepalive_timeout 65;
gzip on;
server {
listen 80;
#server_name localhost;
server_name www.yixiangtiankai.com;
rewrite ^ https://$http_host$request_uri? permanent;
#charset koi8-r;
#access_log logs/host.access.log main;
location / {
root html;
index index.html index.htm;
}
#error_page 404 /404.html;
# redirect server error pages to the static page /50x.html
#
error_page 500 502 503 504 /50x.html;
location = /50x.html {
root html;
}
# proxy the PHP scripts to Apache listening on 127.0.0.1:80
#
#location ~ \.php$ {
# proxy_pass http://127.0.0.1;
#}
# pass the PHP scripts to FastCGI server listening on 127.0.0.1:9000
#
#location ~ \.php$ {
# root html;
# fastcgi_pass 127.0.0.1:9000;
# fastcgi_index index.php;
# fastcgi_param SCRIPT_FILENAME /scripts$fastcgi_script_name;
# include fastcgi_params;
#}
# deny access to .htaccess files, if Apache's document root
# concurs with nginx's one
#
#location ~ /\.ht {
# deny all;
#}
}
# another virtual host using mix of IP-, name-, and port-based configuration
#
#server {
# listen 8000;
# listen somename:8080;
# server_name somename alias another.alias;
# location / {
# root html;
# index index.html index.htm;
# }
#}
# HTTPS server
#
server {
listen 443 ssl;
server_name www.yixiangtiankai.com;
ssl_certificate /etc/nginx/ssl/nginx233.crt;
ssl_certificate_key /etc/nginx/ssl/nginx233.key;
# ssl_session_cache shared:SSL:1m;
# ssl_session_timeout 5m;
# ssl_ciphers HIGH:!aNULL:!MD5;
# ssl_prefer_server_ciphers on;
# location / {
# root html;
# index index.html index.htm;
# }
}
}
> [使用OpenSSL自建CA + Nginx配置HTTPS](https://www.cnblogs.com/luo630/p/9534734.html)

上面的配置完毕后,就可以通过http、https访问网站了,不过,http的是被rewrite转向了https,所以,页面最后看到的是https。

step3: 重启nginx

1
2
3
4
5
6
7
8
重新载入配置文件
[root@www ~]# /usr/local/webserver/nginx/sbin/nginx -s reload
重启Nginx
[root@www ~]# /usr/local/webserver/nginx/sbin/nginx -s reopen
[root@www ~]# ps -ef |grep nginx
root      2393     1  0 21:41 ?        00:00:00 nginx: master process /usr/local/webserver/nginx/sbin/nginx
nobody    2838  2393  0 22:01 ?        00:00:00 nginx: worker process
root      2842  2771  0 22:01 pts/2    00:00:00 grep --color=auto nginx
测试https
在浏览器中键入https://localhost:443,可以访问到nginx的欢迎界面。(HTTPS网站的默认端口是443)
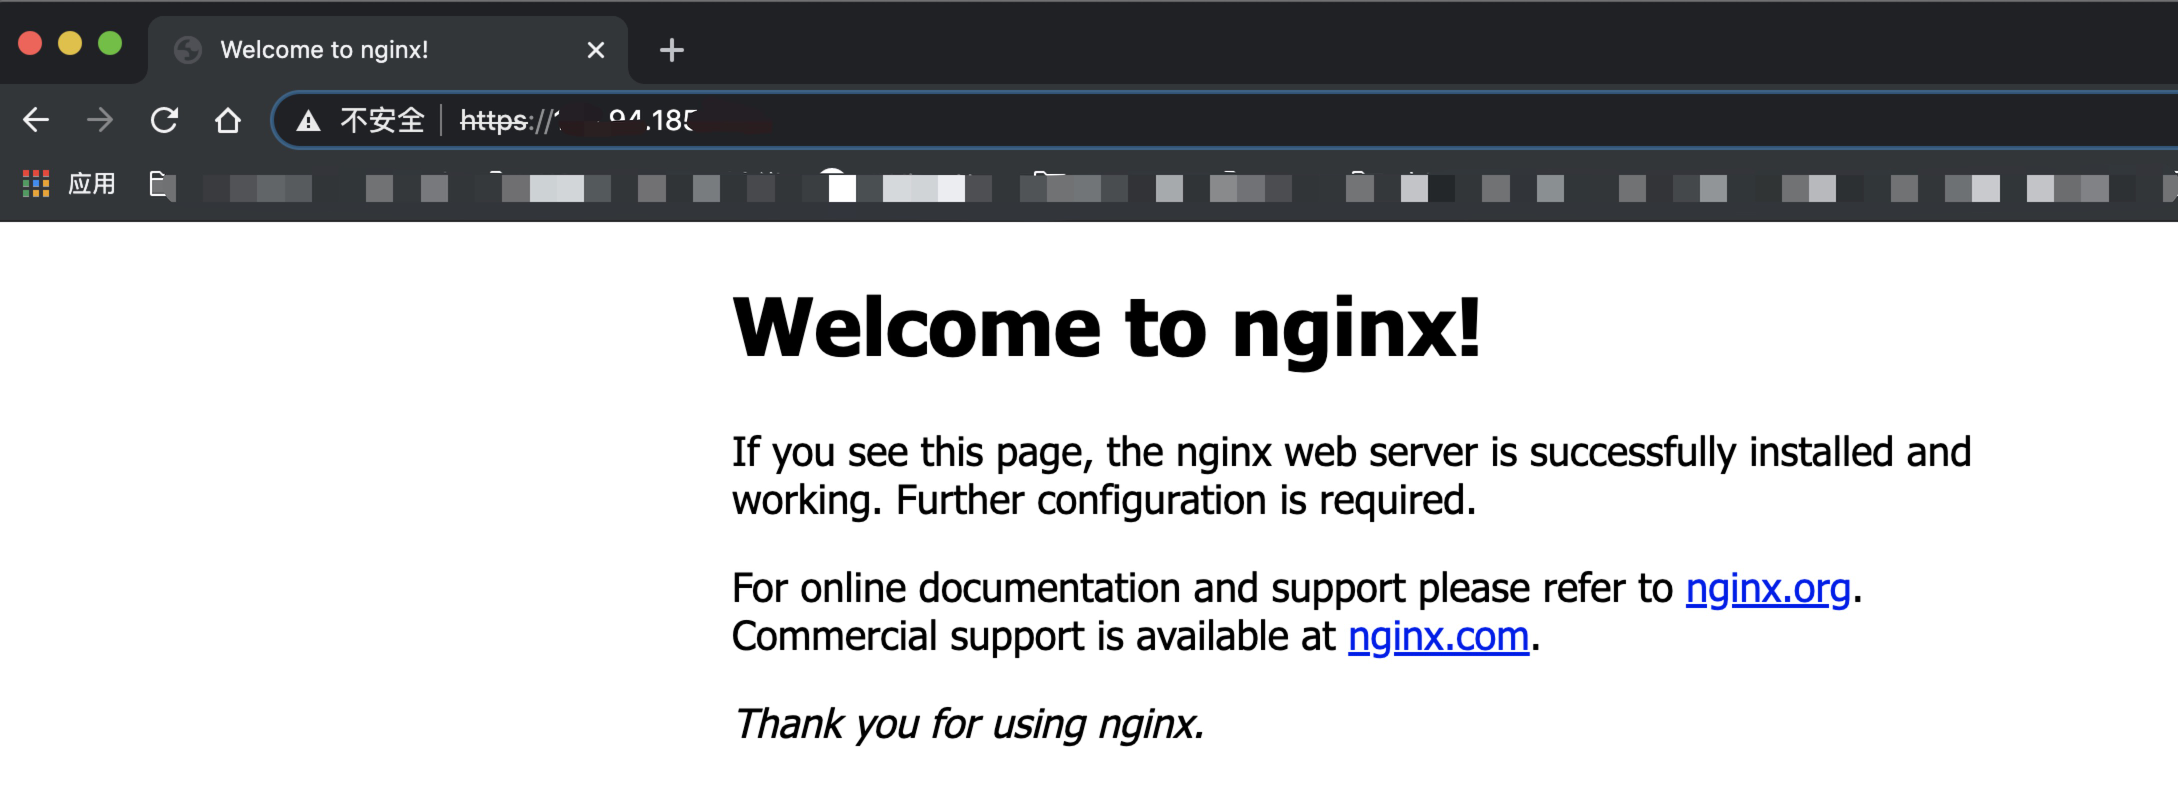
OK,现在网站变为HTTPS的了,自建的证书既然无法正常使用,那么,去申请机构申请证书吧。
后记
通过第三方可靠证书颁发机构申请证书。
https优化(CPU 安全等)。